What Happens If You Don't PVA Before Plastering?
Tigran Mirzoyan
Preparation makes all the difference in DIY or construction work, especially when plastering walls. A key step often debated is applying PVA before plastering. PVA, short for Polyvinyl Acetate, acts as a vital prep layer for a smooth, lasting finish. But what happens if you don't pva before plastering? Problems like cracks or plaster that might not stick well can arise. We'll dive into why PVA matters, the risks of ignoring it, and how to use it right. Let’s uncover why this simple step can save you time, money, and frustration on your next plastering job.
What is PVA?
PVA stands for Polyvinyl Acetate, a synthetic polymer best known as a strong adhesive product, like wood glue. It's readily available from various adhesive suppliers. In plastering, it takes on a different role. Builders dilute it with water to create a PVA primer before plastering. This mixture coats walls and purely seals porous surfaces like brick or concrete. Walls can absorb a lot, so PVA stops plaster from losing moisture too fast. It also leaves a tacky layer that helps the plaster grip better.
Why PVA Is Used Before Plastering

Before plastering, PVA serves practical purposes that ensure quality. It primes surfaces, boosts bonding, and controls moisture. Each role tackles a specific challenge plasterers face, especially on tricky walls. Whether you’re working with rough brick or smooth drywall, PVA sets the stage for success. Let’s break down why this step matters so much.
Priming
Priming is PVA’s first job. Walls made of brick, concrete, or plasterboard often soak up water extremely fast. Without a barrier, wet plaster loses moisture as soon as it hits the surface. This can make the plaster dry too fast and could lead to uneven results or cracks. PVA seals these porous spots, cutting down absorption. It creates a consistent base so that plaster spreads smoothly and sets properly. Think of it as a shield that keeps the wall from sabotaging your work before it even begins.
Bonding
PVA strengthens the connection between the plaster and the wall. After you apply it, the diluted mix dries to a sticky film. This tackiness grabs the plaster, helping it cling tight. It’s crucial for surfaces where plaster might not stick well, like glossy paint or old plaster. PVA before bonding plaster is especially handy to ensure that even tricky spots hold firm. Without this grip, parts can fall off over time. That sticky layer is the secret to a finish that lasts, not one that peels away.
Moisture Control
Moisture control rounds out PVA’s benefits. Plaster needs time to set, not just dry out instantly. Unprimed walls absorb a lot. It turns out they pull water from plaster too quickly. This rushed drying causes shrinkage and cracks, ruining your efforts. PVA slows that process mainly to let the plaster cure at a steady pace. It’s a lifesaver in warm or dry conditions where plaster might otherwise harden before you can smooth it. With PVA, you get a stronger, cleaner finish that stands up to time and wear.
How to Properly Apply PVA Before Plastering
Now that you know the pitfalls of skipping PVA, let’s talk about how to do it right. Applying PVA before plastering isn’t complicated, though there are a few key steps that you do need to follow to get the best results.
Choosing the Right PVA Mix
To kick off, you need the right PVA mix. PVA, or polyvinyl acetate, usually comes as a concentrated adhesive that you dilute with water. For plastering, a common ratio is one part PVA to three or four parts water, but always check the manufacturer’s instructions. If it's extra powerful, it might create a glossy film that plaster struggles to grip, though if it's too weak, it won’t control moisture well down the road. Mix it in a clean bucket until it’s smooth—no lumps allowed. This diluted solution is what you’ll use to prime your walls.
Preparing the Surface
Cleaning the surface should come first, even the walls. They should be free of any dust, oil, moisture and dirt. Scrapping off anything with an old plaster has a possibility of loosening some old bits. This also goes for new cinder blocks and wall board, which should not have any dry dust. We previously mentioned that walls take in more moisture than available room air so a wipe down does wonders. The PVA can attach to the plaster because there is an adequate clean surface from which to bond.
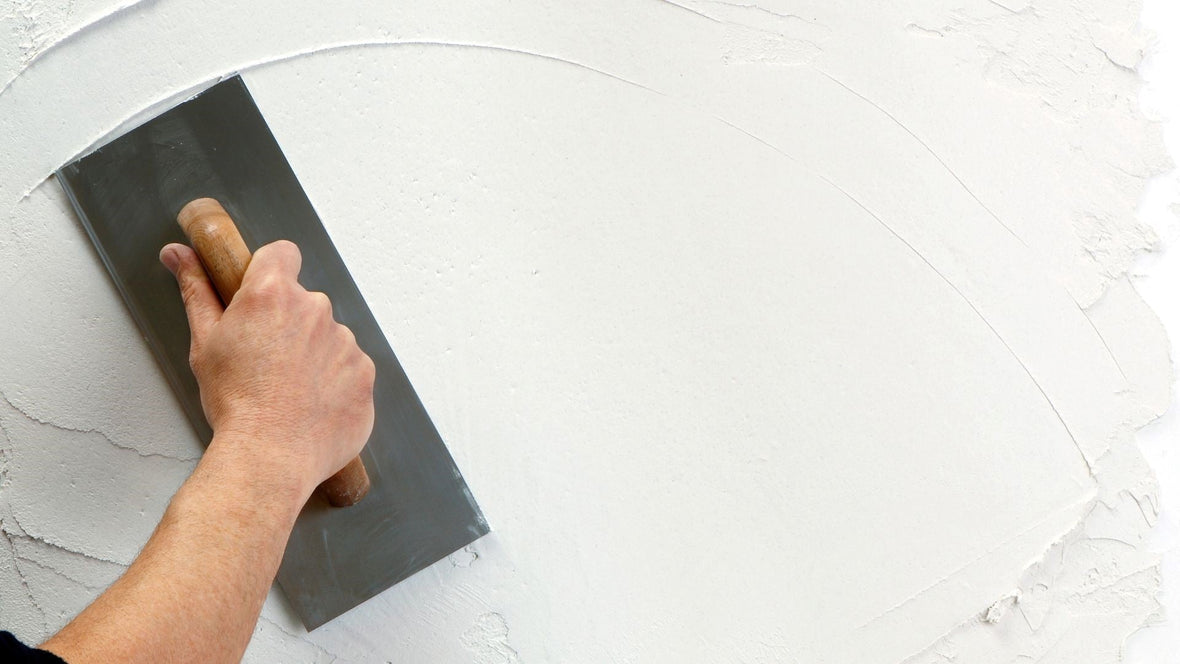
Applying the First Coat

Starting with the PVA, grab a brush and even a roller and begin spreading the diluted mix evenly across the wall. Apply the mixture as thin as possible but evenly. If the area you are working with is big, it is better to section it into smaller parts. With PVA, the PVA is great in the way that it will actually help seal the surface and control the speed of plaster. During the cold season, this type of work gets the best results if let dry for an hour while in the warmer months, humidity does make it set.
Adding a Second Coat (If Needed)
For some surfaces, one coat of PVA isn’t entirely enough. If you've got highly porous walls, like bare brick or concrete blocks, you might need a second layer. Apply it the same way, but this time, you want it to stay tacky when you start plastering. If it dries completely, it might not stick well to the plaster. Check it with your fingers, it should feel sticky. This tackiness creates the perfect bridge between the wall and the plaster by obviously locking everything in place.
Timing Your Plaster Application
Once your PVA is tacky, don’t wait too long to plaster. The tacky surface is what helps the plaster grip, so you’ve got a window of opportunity—usually a couple of hours, depending on conditions. If it dries hard, you’ll need to reapply a fresh coat. Plastering over tacky PVA ensures it won’t dry too fast, giving you time to smooth it out and avoid cracks. Get your plaster mixed and ready to go as the PVA reaches that sweet spot.
Tips for Best Results
A few extra pointers can make your PVA application foolproof. Work in a well-ventilated space to help it dry evenly, though avoid drafts that might speed things up too much. Stir the PVA mix occasionally if you’re working slowly; it can settle. And don’t rush the process. Giving each coat time to set properly pays off in the finished job. With these steps, you’re not just slapping plaster on a wall, you’re building a surface that lasts.
Conclusion
So, what happens if you don’t PVA before plastering? You’re rolling the dice on a job that could end up costing you more time, money, and frustration than you’d like. Without PVA, you risk poor adhesion, uneven drying, and cracks that turn a smooth wall into an eyesore. Parts can fall off, plaster can dry too fast, and the final look might disappoint. It’s a small step that makes a big difference, and skipping it just isn’t worth the gamble.


